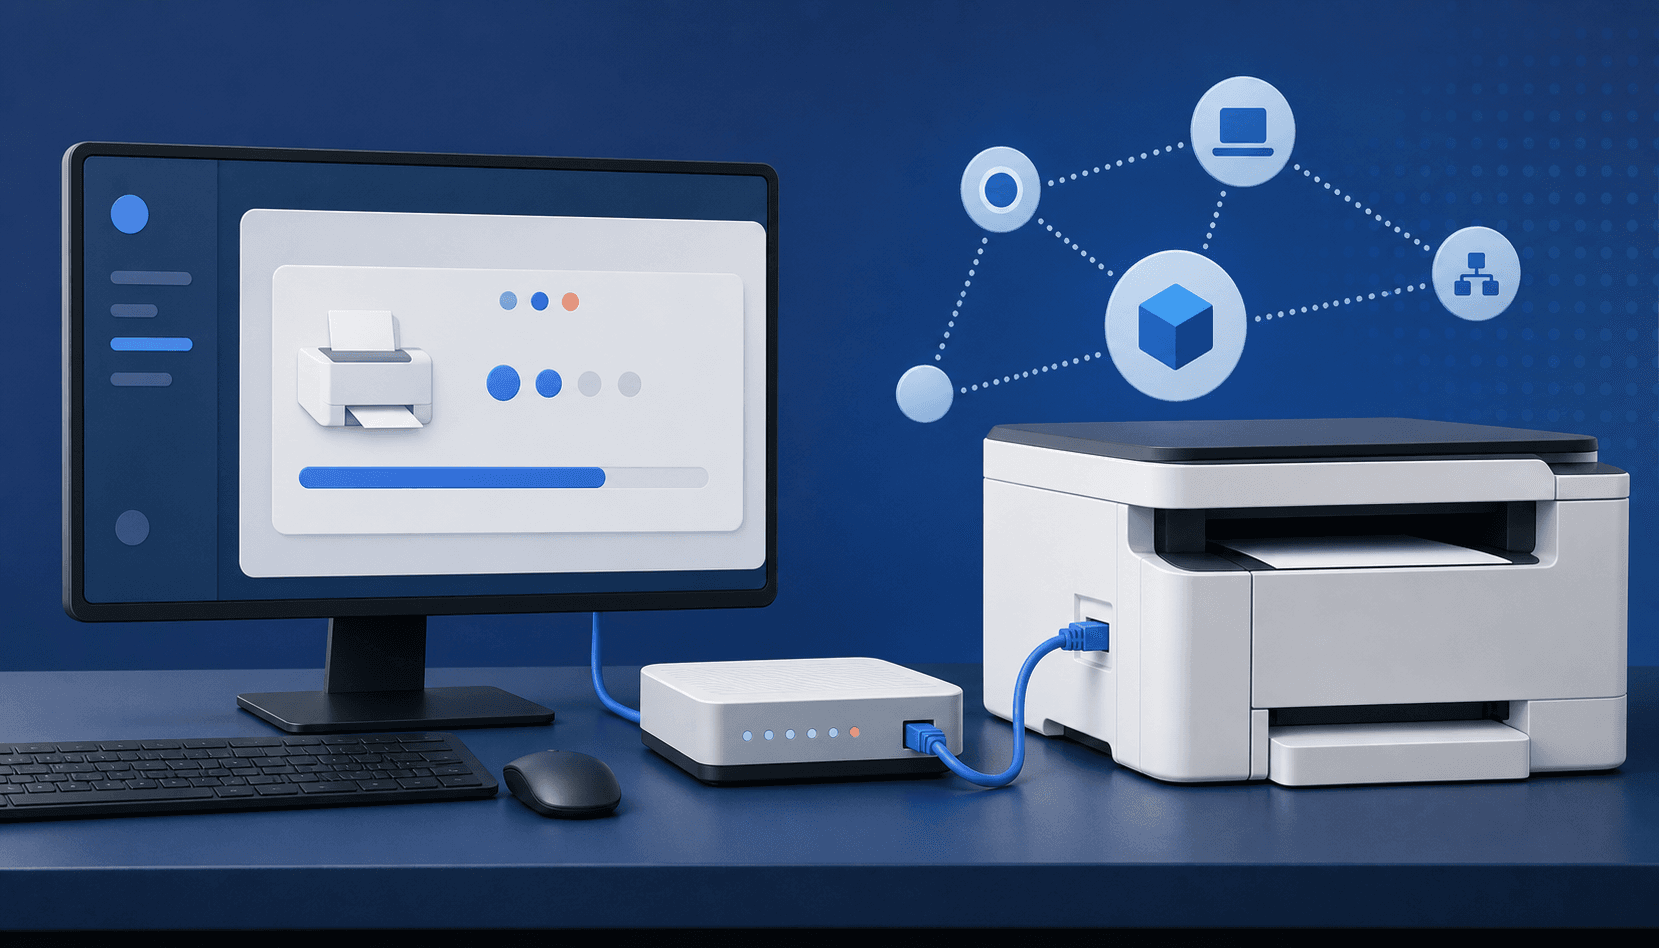
Here’s a very common printer problem. Your computer remembers the printer at one IP address, but the router gives the printer a new address later. The printer is sitting right there, turned on and perfectly fine, while the computer says it is offline. Giving the printer a reserved address usually puts an end to that nonsense.
Reserved IP or static IP?
The names sound more complicated than they are. A reserved IP is set in your router. The router promises to give the printer the same address every time. A manual static IP is typed into the printer itself. For most homes and small offices, the router reservation is easier and safer.
| Choice | Where you set it | My advice |
|---|---|---|
| Reserved IP | In the router | Use this for most homes and small offices |
| Manual static IP | On the printer | Use this only when you know the network settings or your IT person asks for it |
First, get these numbers
- The printer’s current IP address. It may look like 192.168.1.45.
- The printer’s MAC address. This is a longer group of letters and numbers.
- The subnet mask. On many home networks it is 255.255.255.0.
- The gateway address. This is usually the address of your router.
You can usually find these on a network information page printed from the printer menu. The names may be a little different on your model, but look for Network Report, Network Status, or Configuration Page.
The easy way: reserve the address in your router
- Sign in to your router. The address and password may be printed on the router.
- Look for LAN, Local Network, DHCP, Address Reservation, or Static Lease.
- Find your printer in the list of connected devices. Match the MAC address so you know it’s the right one.
- Choose Reserve or Always Use This Address, then save the change.
- Restart the printer and check that it comes back with the same IP address.
- Print a test page from the computer.
The manual way: set the address on the printer
Open the printer’s Network or TCP/IP menu. Change the address setting from Automatic or DHCP to Manual. Type in the IP address, subnet mask, gateway, and DNS address. The IP must be free, and it should not be in the group of addresses your router hands out automatically.
Tell the computer about the address
- Open Printers & Scanners on the computer.
- Add the printer by IP address, or change the port on the printer you already added.
- Use a Standard TCP/IP port and type in the printer’s reserved address.
- Choose the driver for your exact printer model.
- Print a test page, restart the computer, and print one more time.
It still says offline. Now what?
- Type the printer’s IP address into a web browser. If a printer page opens, the network connection is working.
- Check that the address in the computer’s printer port matches the address on the printer.
- Open the print queue, clear any stuck jobs, and turn off Use Printer Offline.
- Don’t connect the printer with Wi-Fi and Ethernet at the same time. Pick one.
- If this is an office printer, ask the IT person to check the firewall or SNMP settings.